Sowing Seed for the Harvest
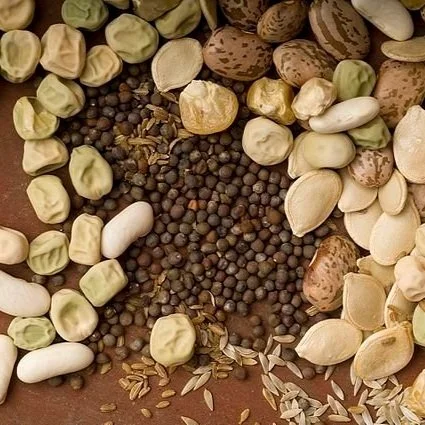
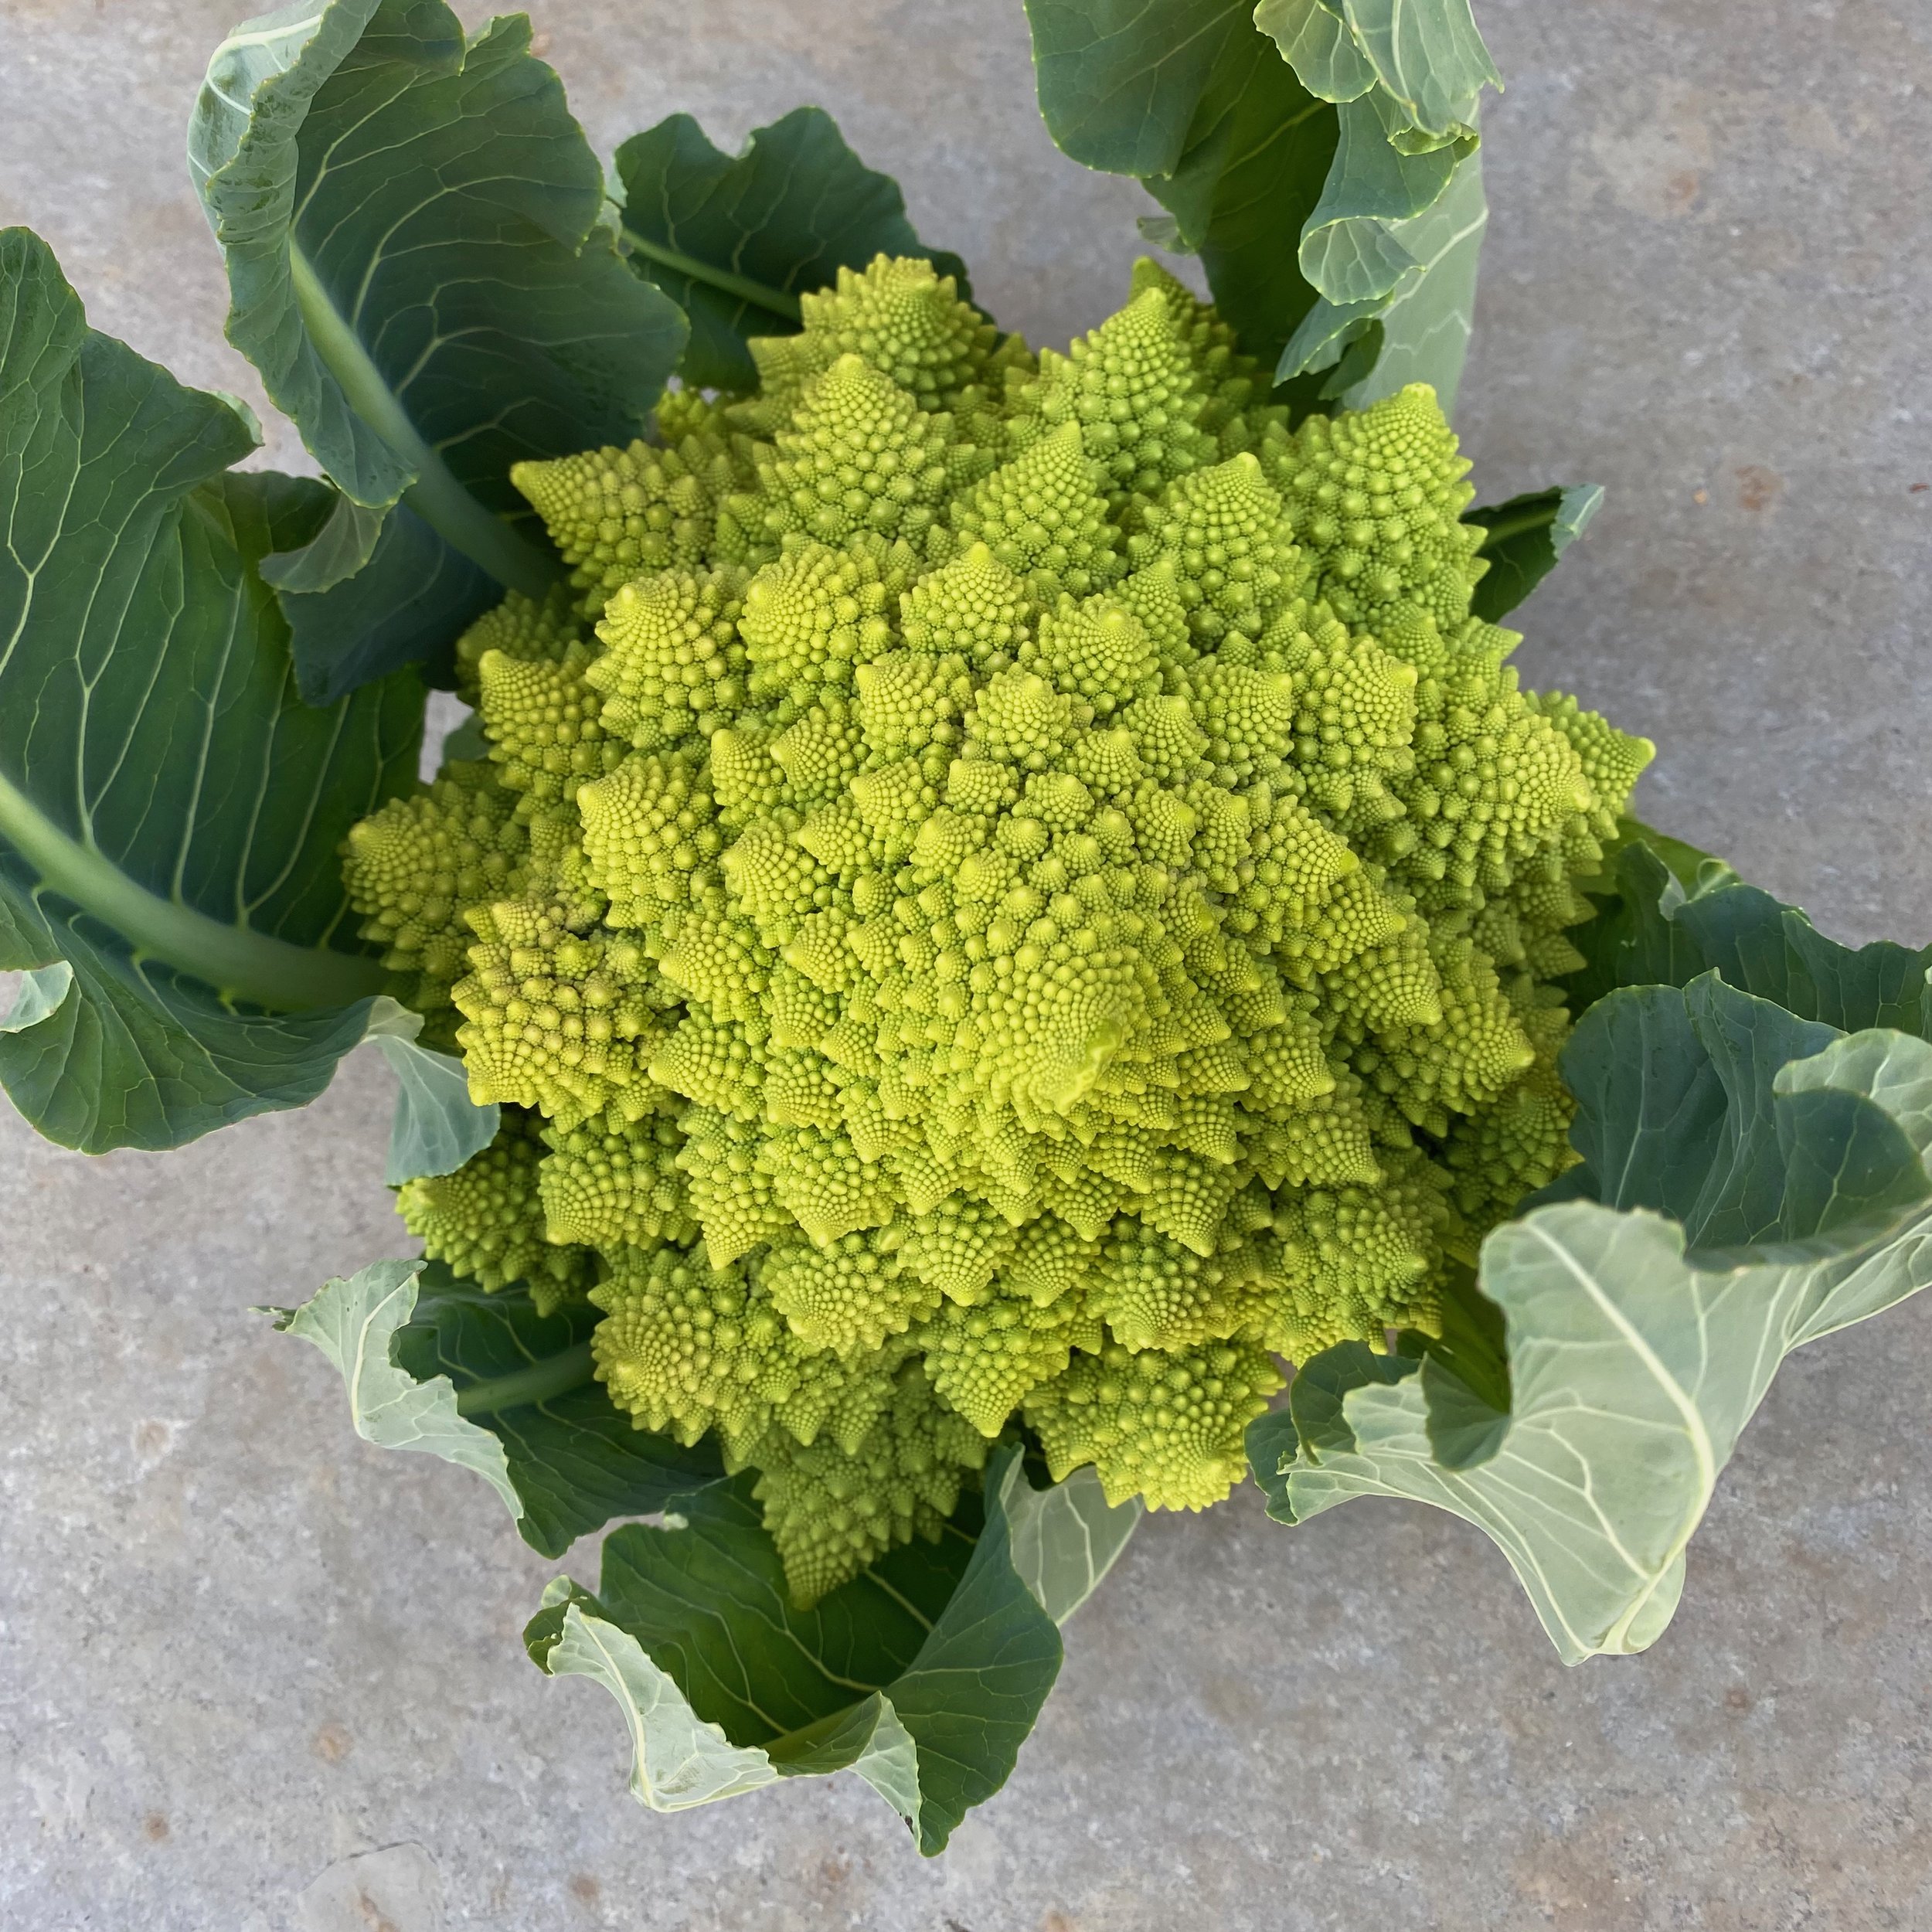
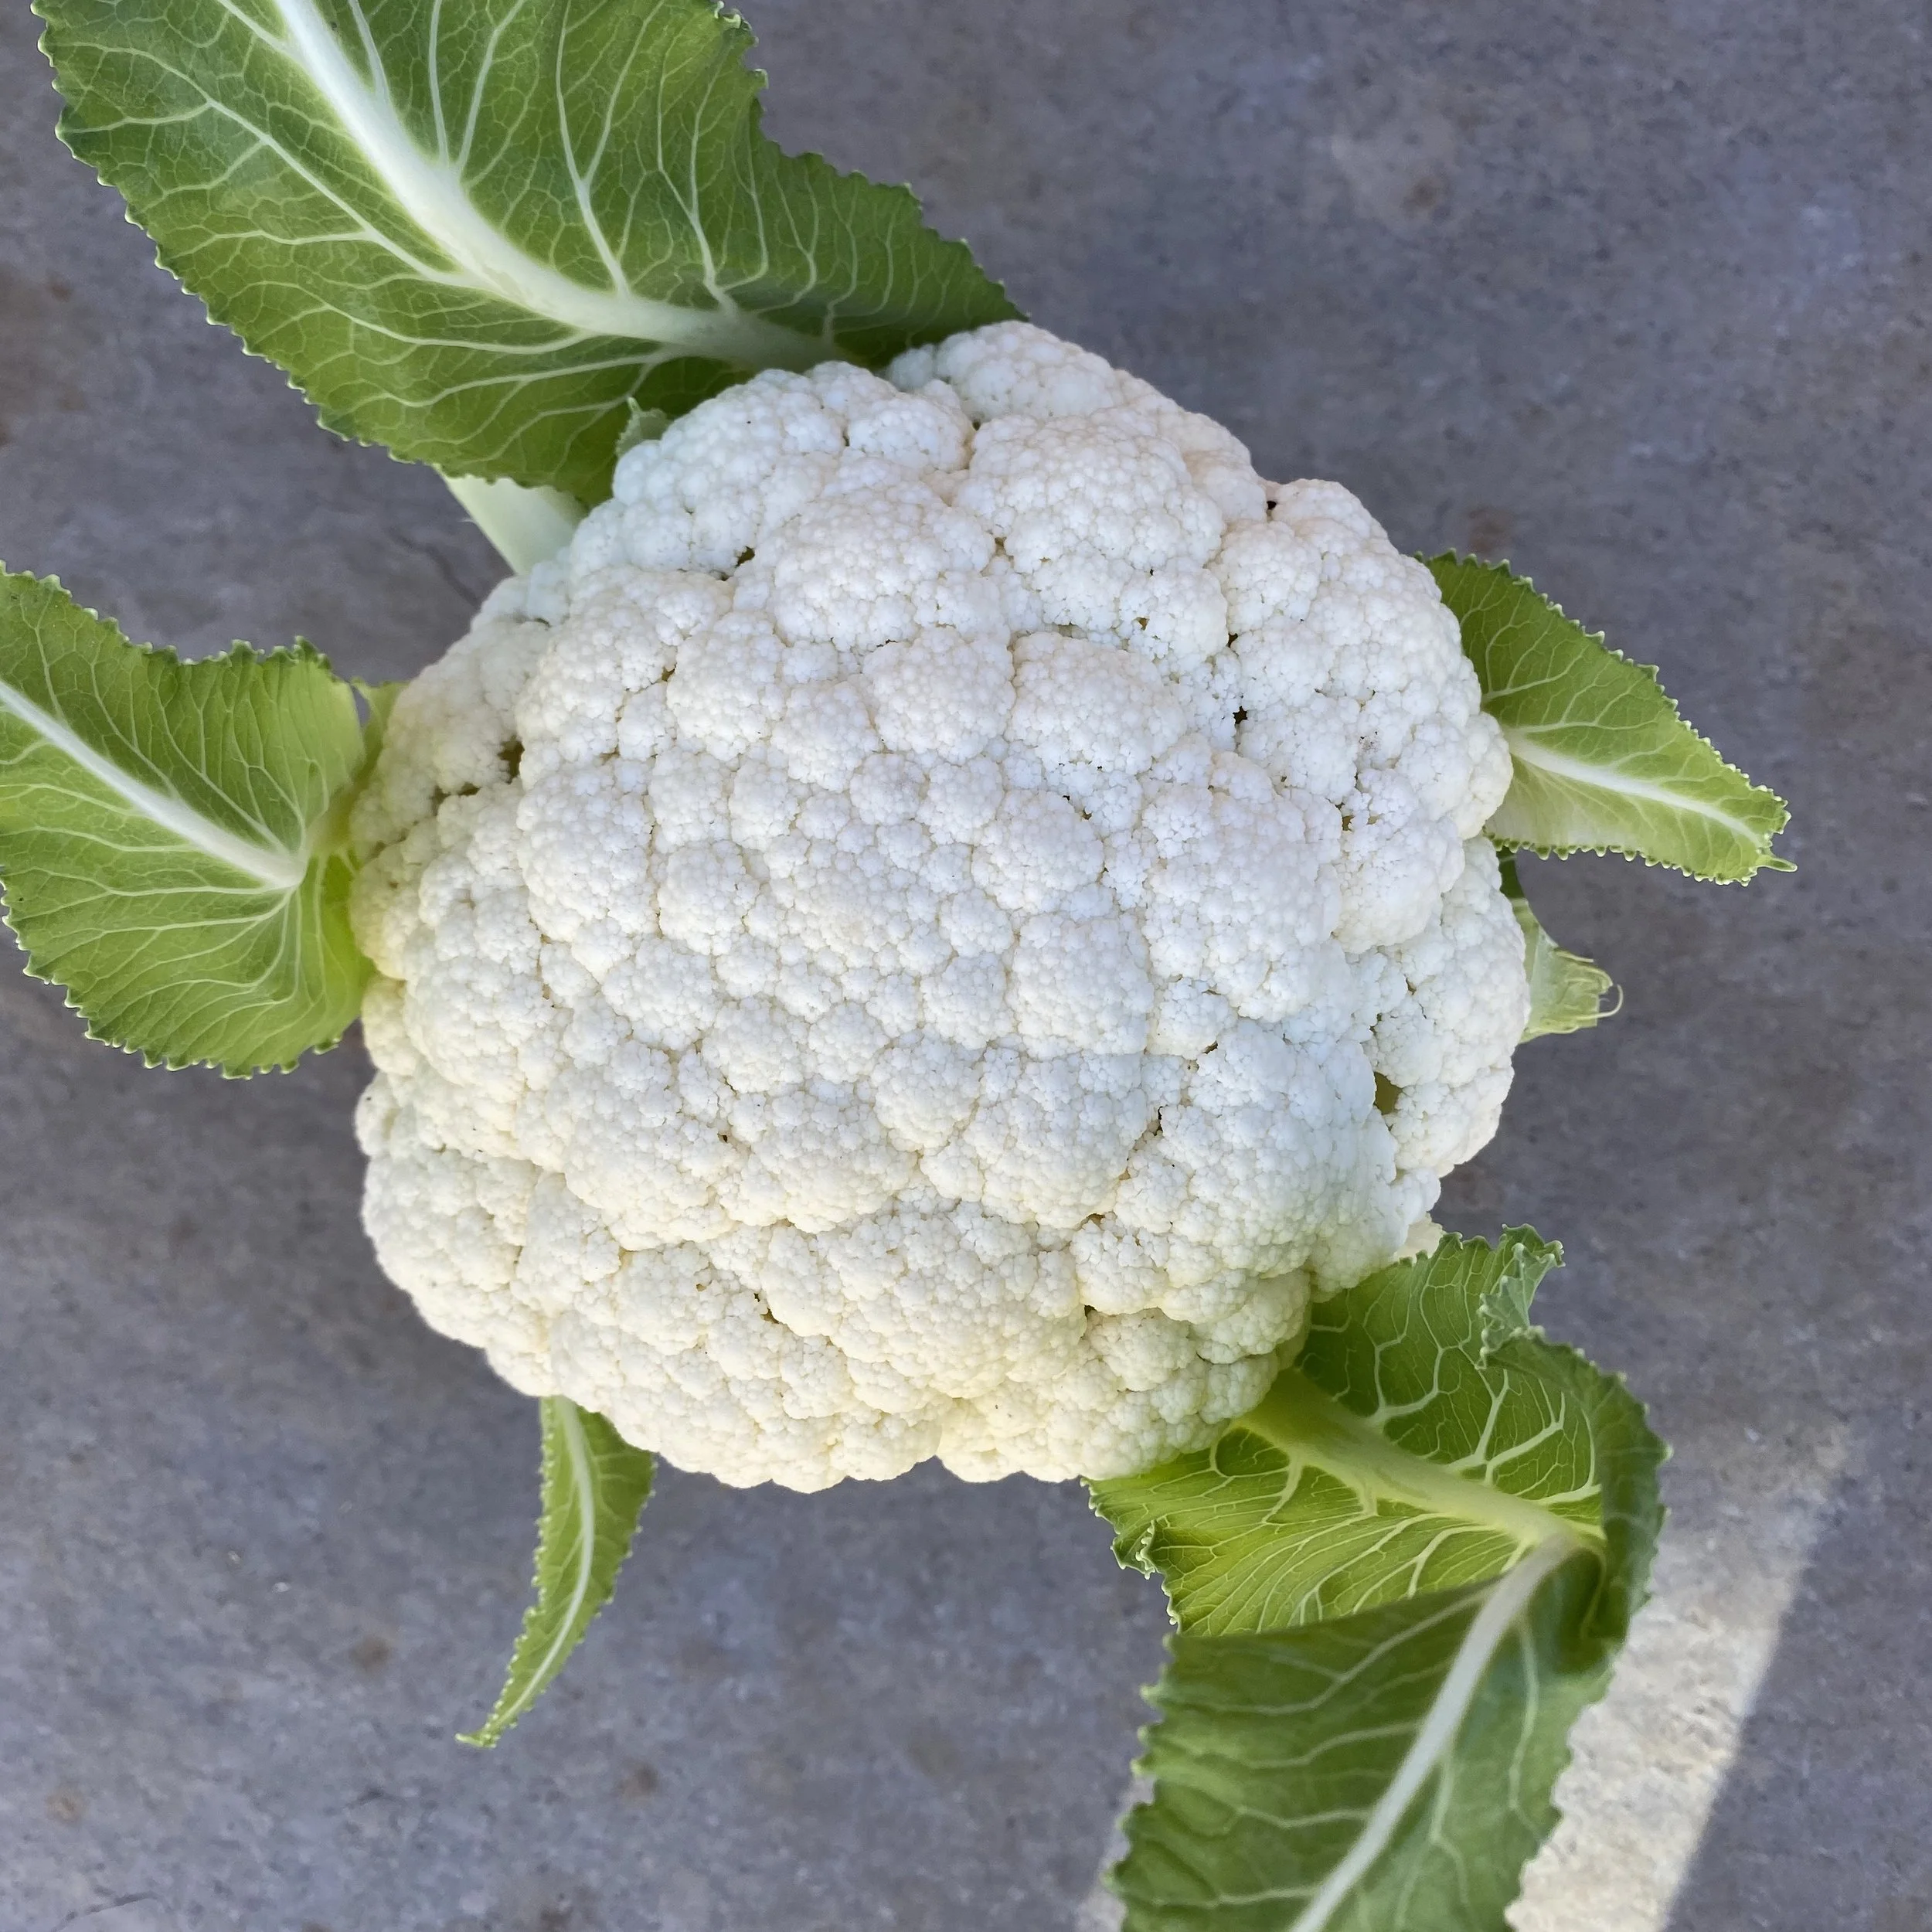
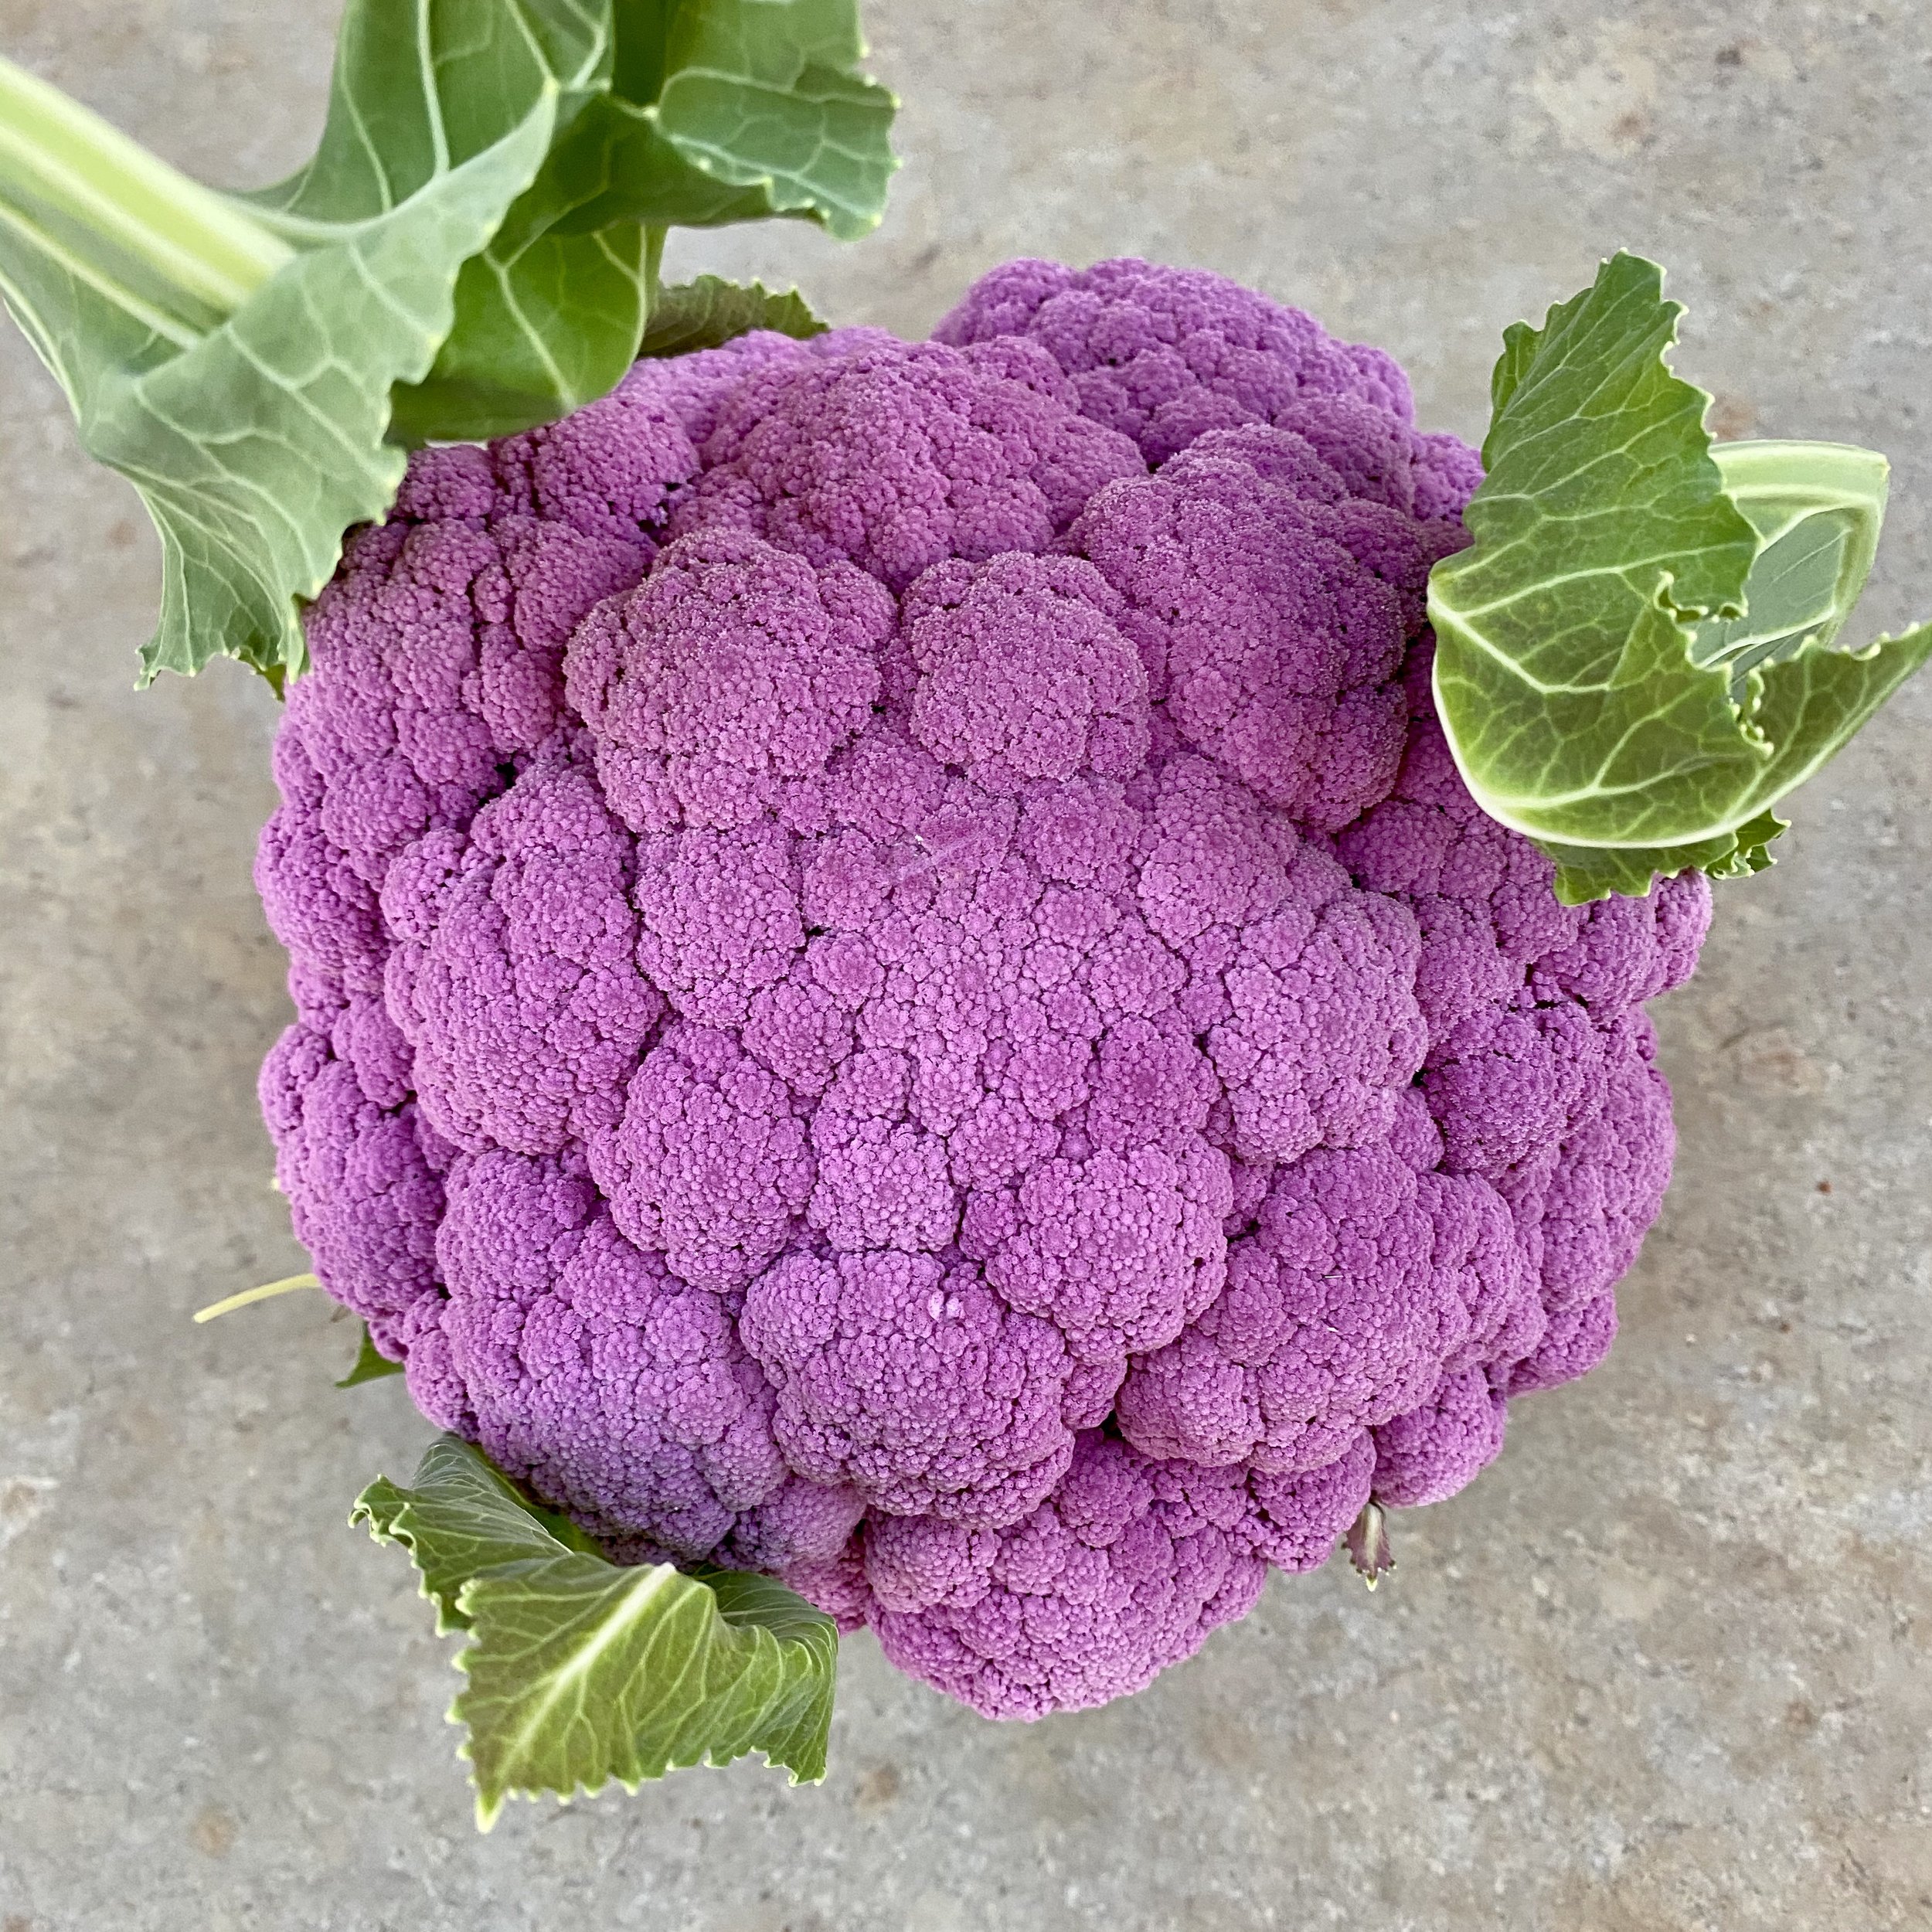
This was the week to plant my cauliflower seeds, a little later than usual because of a vacation. I’m thinking of the large heads of Romanesco, Amazing and DePurple cauliflower of other years and the ones I’ll harvest in a few months.
I’ve written about The Pleasures of Growing From Seed and many other pieces on the subject. Check over a dozen other blog posts about growing from seed at ediblegardens52.
Over the years I’ve started seeds in six packs for later transplant in a variety of ways. I learned techniques from other gardeners, blog posts and books. Eventually, I settled on a way that works for me. We all do that. But maybe I’ll learn or invent another alteration down the line. Gardening is about experimentation. I hope this brief tutorial can be helpful for you.
Here’s how I do it (for USDA Zones 9 and 10). Check Johnny’s Seeds Guidelines for Starting Seeds Indoors if you garden in cooler USDA Zones.
1. Select an organic seed starting mix. No garden soil or compost. That’s for later.
2. Wash and scrub your six packs or other containers with a small brush. Sanitizing with bleach solution is often recommended. Honestly, I don’t take the time and usually splash bleach on my clothes.
3. Moisten your seed starting mix with warm water, mix and fill the containers. Seed mix should be damp but not soggy. Level and pat down lightly. Refill as needed to bring the level up.

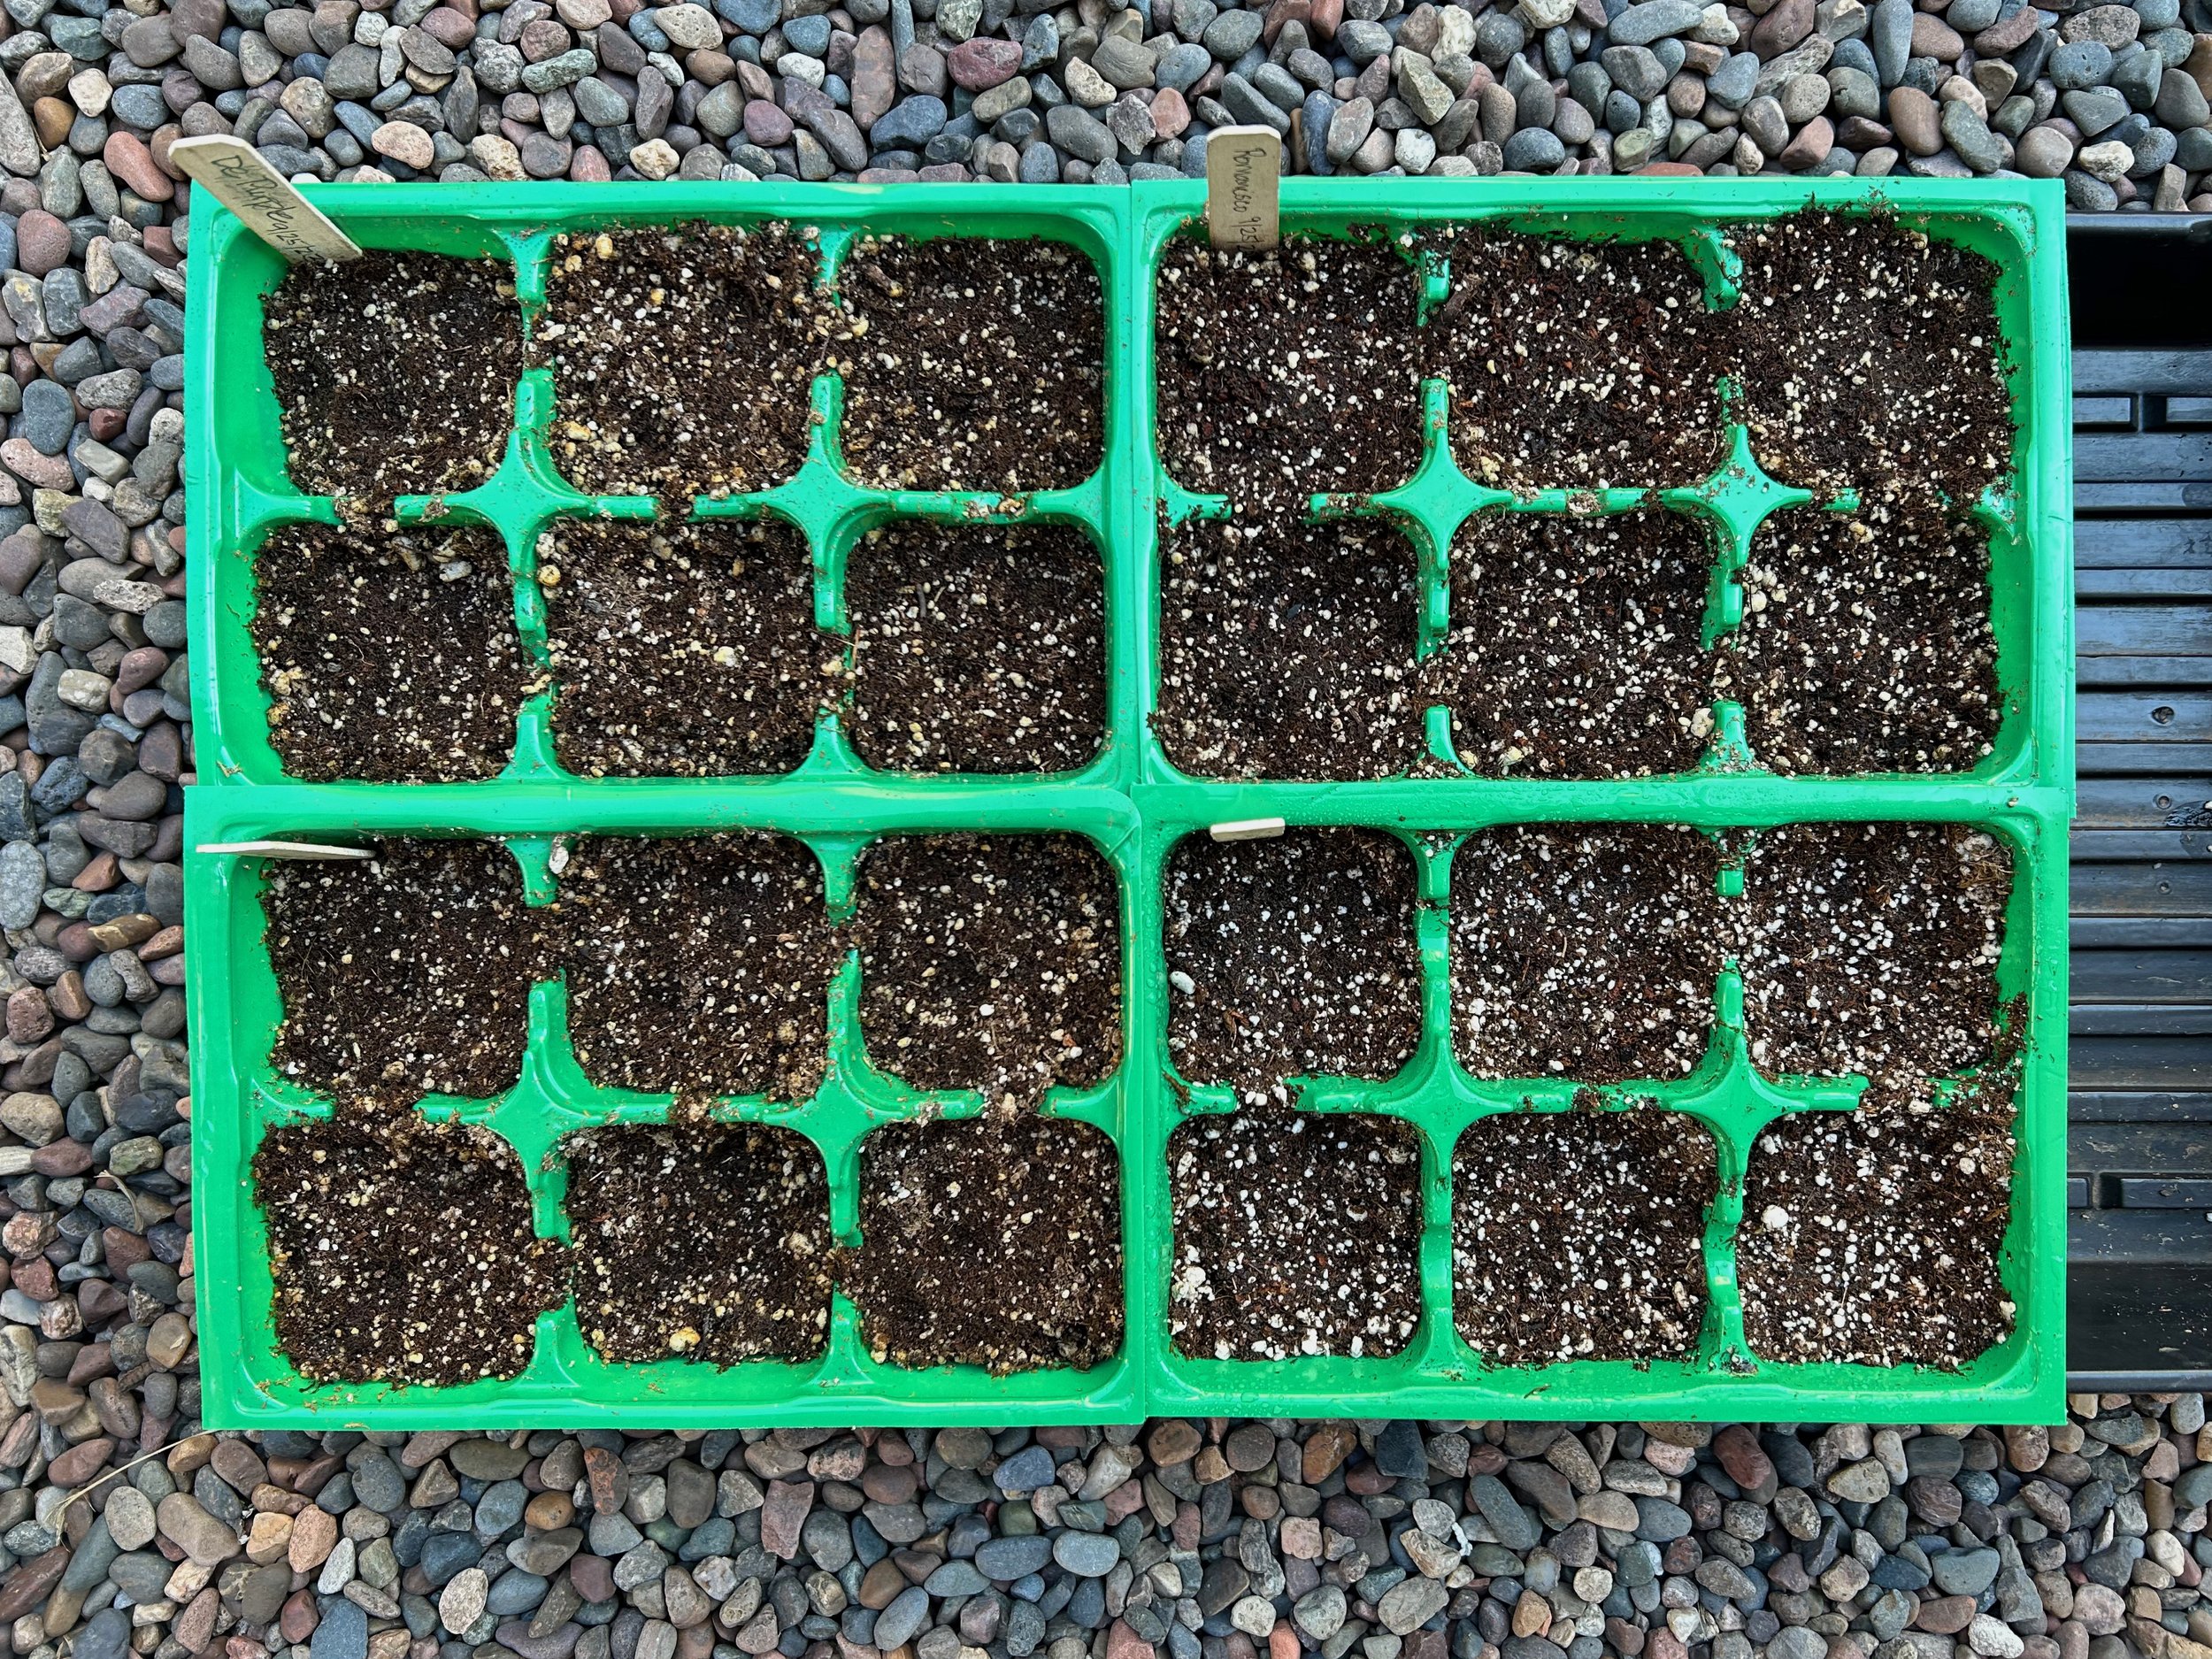
Note the planting holes in each cell.
4. Check the seed packet for planting depth and choose an implement to make a small hole(s) in each cell. For cauliflower, planting depth is 1/4 inch so I used the eraser on a pencil. I could easily gauge the depth of my mini plunge. For tiny seeds like lettuce (1/8 inch planting depth), I just make a slight depression in the seed mix and place my seed.
5. Sift some of the seed starting mix into a container to remove larger chunks. I have various retired kitchen and lab items items that are useful.
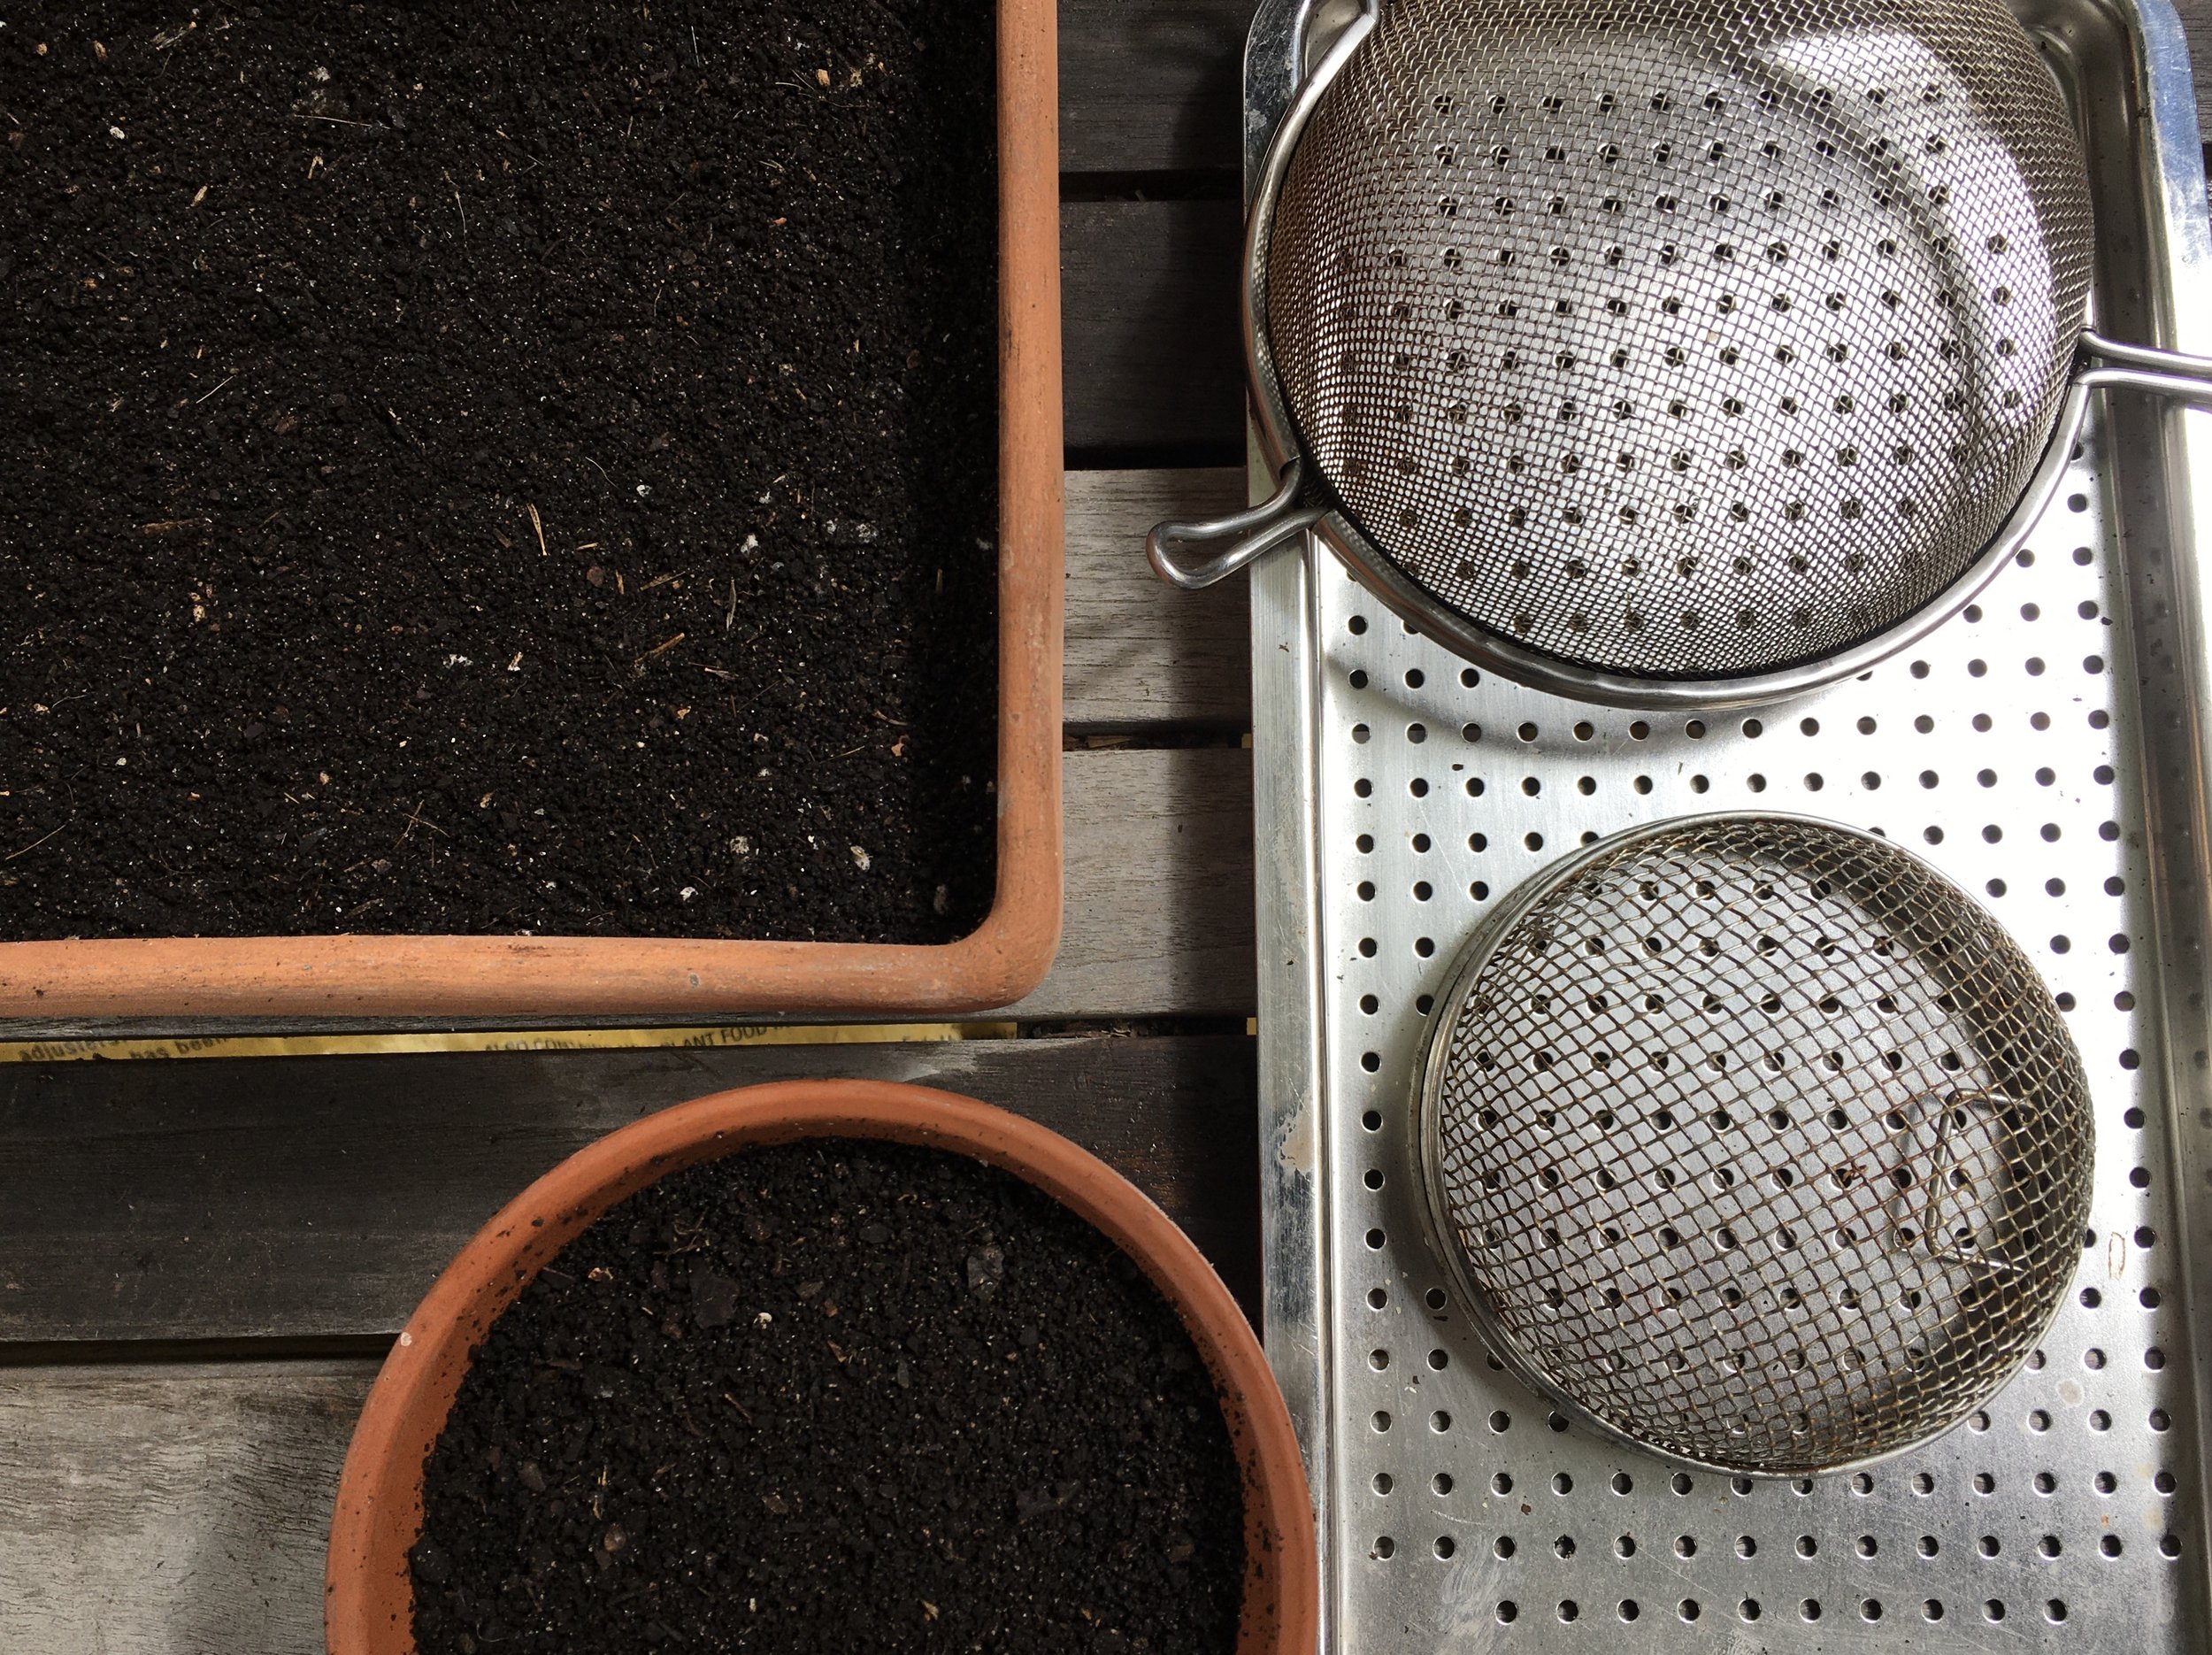
6. Then with a small spoon or your fingers distribute some of the sifted compost—the amount depending on the seed size and depth of planting. Press down lightly for good seed to starting mix contact.
7. Place starter packs in water-tight tray and add about 1/2 inch of water for the seed mix to absorb. If not absorbed in a day or so, empty tray.
8. Choose a location to await germination. The optimal temperature for seed germination and your options will determine your choice. My cauliflower seeds are in the garage on a counter where the temperature ranges from 70-80 degrees F. In the past, I’ve put the tray in a shady location outside but then need to cover to prevent the cells from drying out. A sunny window in the house is often my winter option.
9. As soon as some of the seeds germinate move the six-pack to bright light outside to avoid leggy growth. Attend to moisture needs. Often a spray bottle can keep soil surface appropriate for germination.
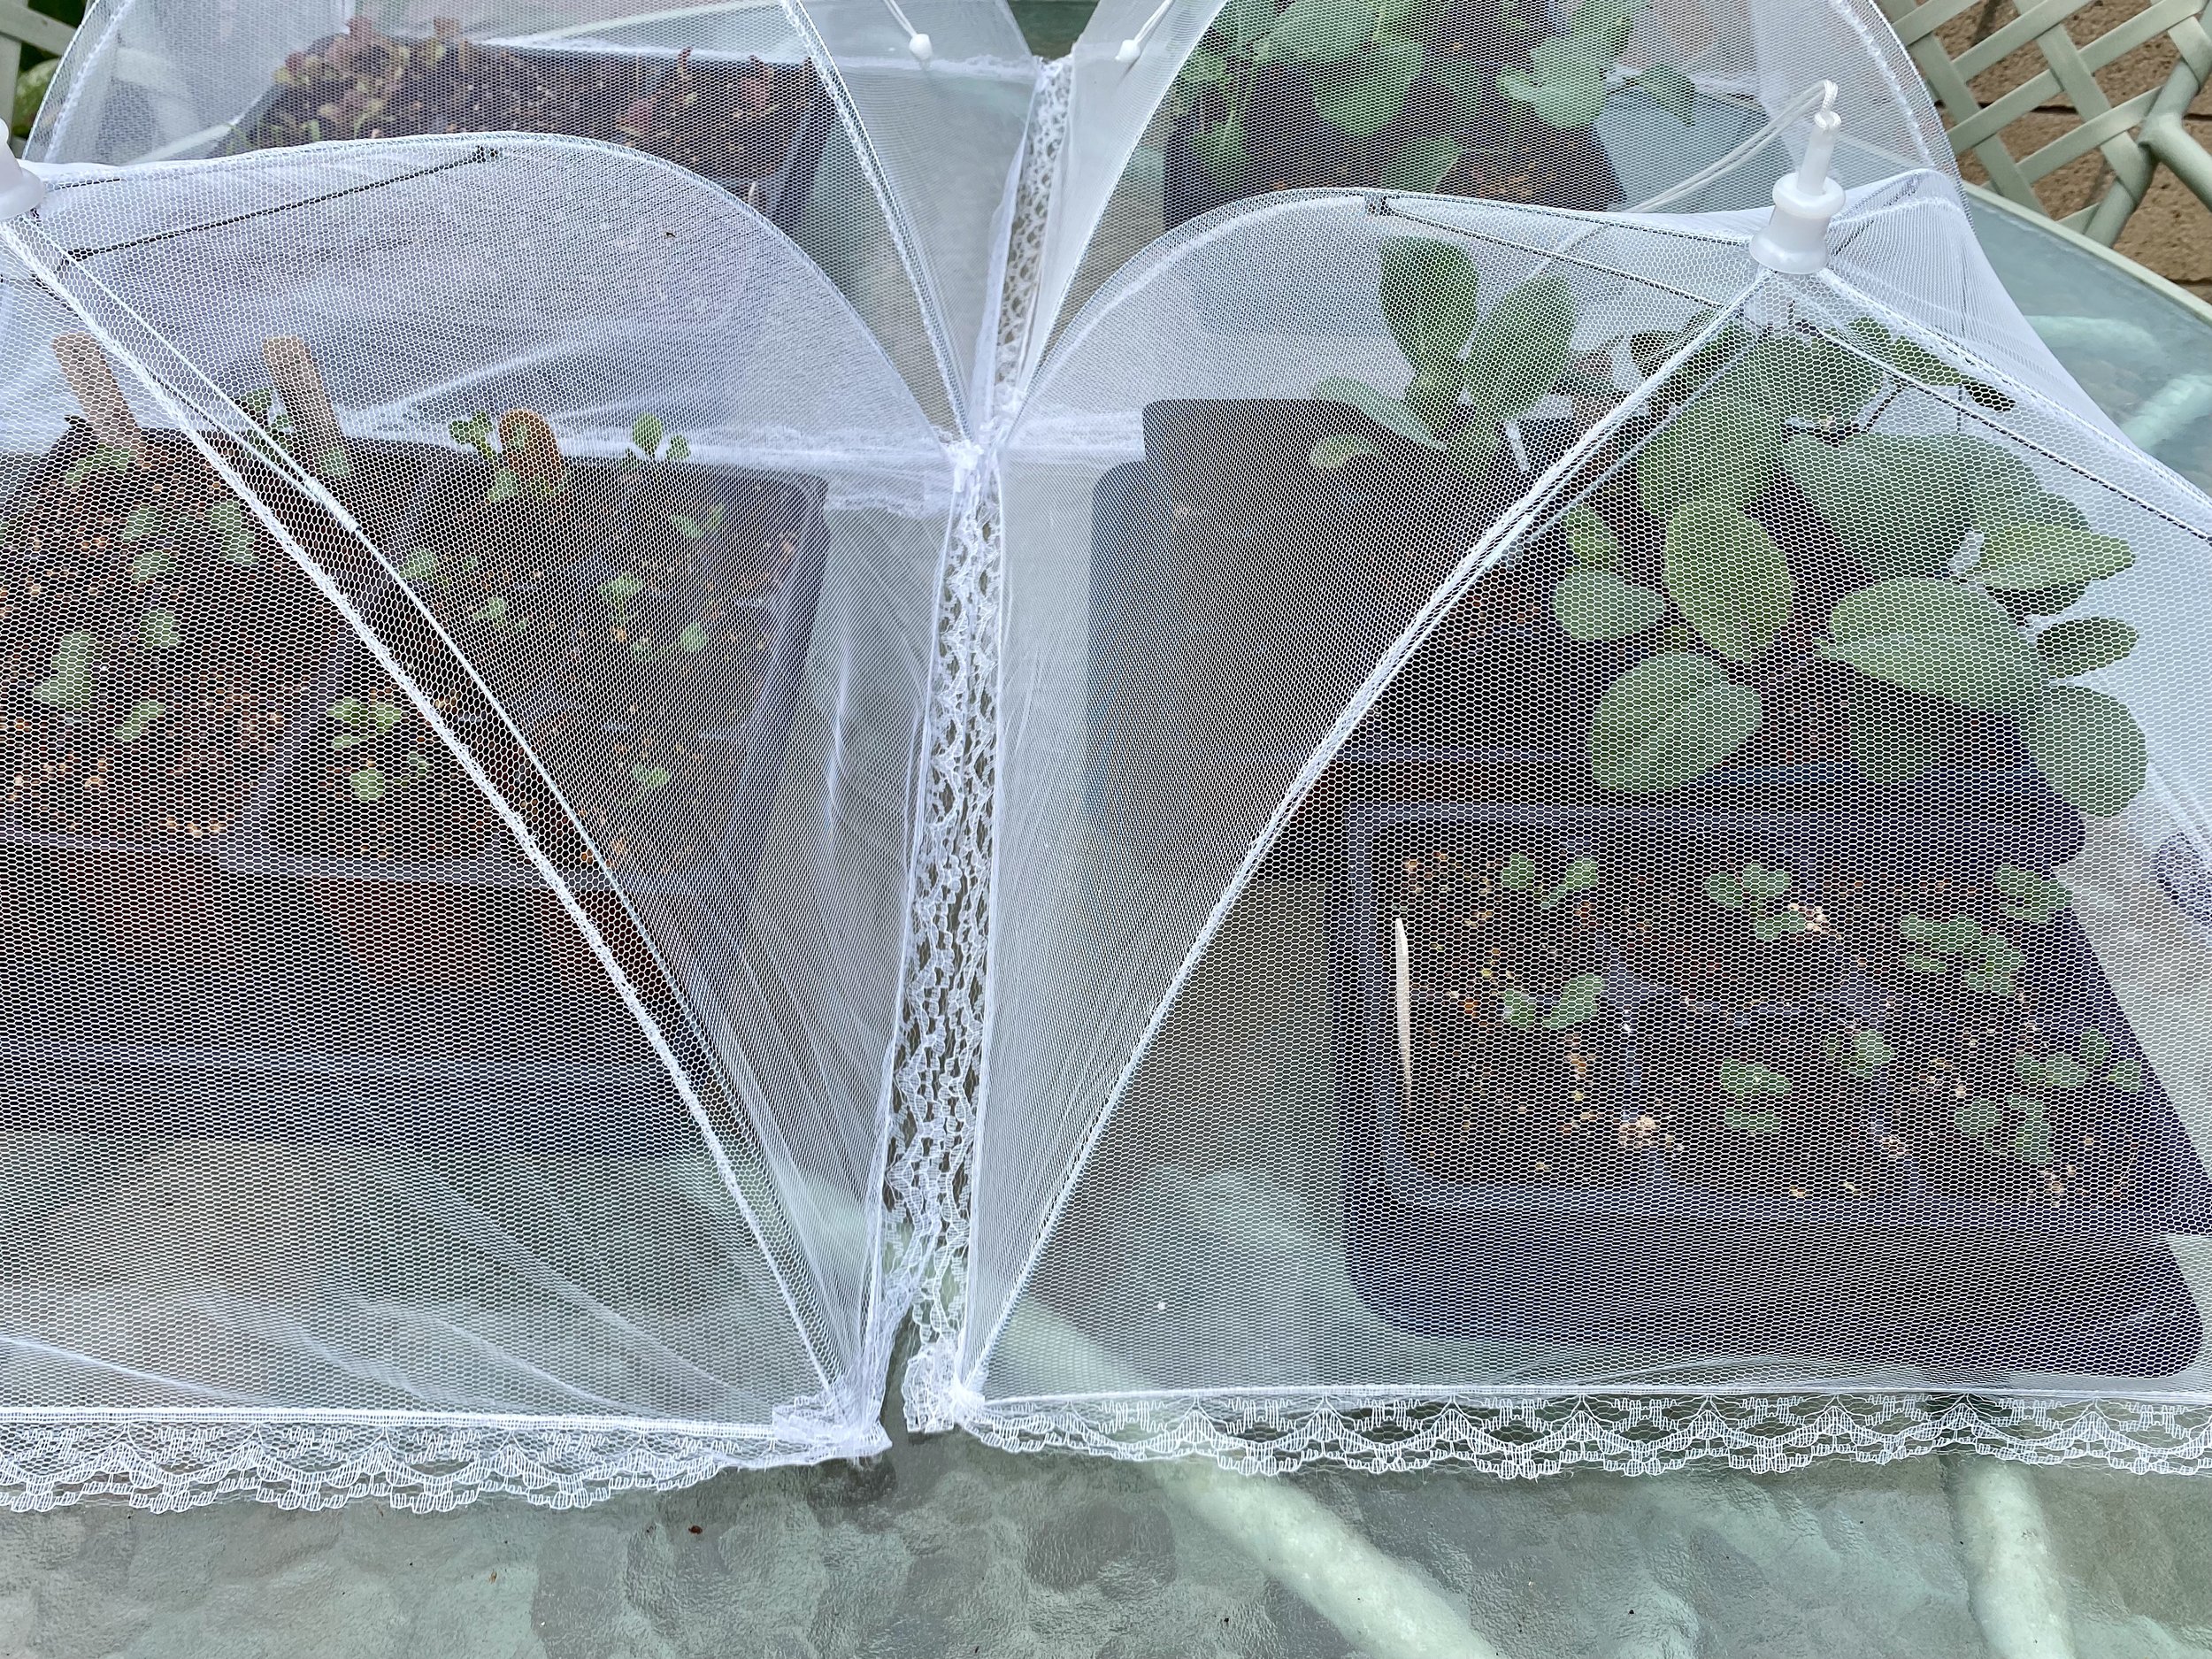
10. Transition plants to bright shade/part sun/sun over time and protect appropriately. This time of year in Southern California cabbage moths will lay eggs and their worms can heavily damage young seedlings. Check seedling leaves for damage frequently. Here’s one method that works for my brassicas.
11. When seedlings develop their first true leaves (the second set of leaves) water with a diluted liquid organic fertilizer like fish emulsion or seaweed-fish emulsion. When your seedlings reach 3-4 inches they can be transplanted to the garden.
Another tip: Sometimes, I have leftover seed from previous seasons and its viability is questionable. I could do a germination test but instead I usually plant old and new seed in the same cell. Later, I select for the strongest seedling and snip the weaker plant with scissors.
For more pro tips check Successful Seed Germination at San Diego Seed Company. Johnny’s Seeds has an excellent Grower’s Library.